Setup Web Admin Dashboard
Prerequisites
Before starting, you need to have the following installed:
- Firebase CLI and logged in (
npm install -g firebase-tools, thenfirebase login)
Step 1: Use FlutterFire CLI
- Open a terminal and navigate to your
/Hello_Teacher_Admin_Dashboard_Flutterdirectory, and install all the dependency :
flutter pub get
Run the following command to install the FlutterFire CLI:
flutter pub global activate flutterfire_cliRun the following command to initialize Firebase in your app:
flutterfire configureChoose your Firebase project.
Choose the platform you want. In this case, choose
webby pressing space and using the arrow keys.
Your admin dashboard is now connected to your Firebase project. To start the project, press
F5and choose Chrome or deploy it to Firebase hosting. We'll deploy the admin dashboard to Firebase.Build your Flutter app for the web using the following command:
flutter build webAfter the build is done, initialize Firebase hosting in your Admin Dashboard folder using this command:
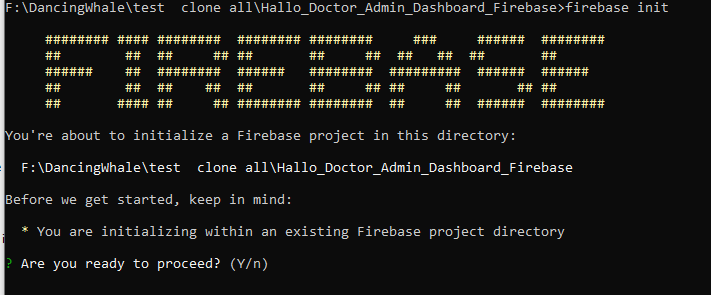
firebase init
You'll be asked to choose your Firebase project. Choose the project that you set up previously.
Press Enter.
You'll be asked to choose which Firebase features to activate in this folder. Choose
Hosting: Configure File for Hosting.
You'll be asked to enter the name of your public directory folder. Enter
build/webbecause the build folder is the default build folder of this Flutter project.Answer yes or press Enter to the rest of the questions.
After initializing Firebase, publish it to Firebase hosting using the following command:
firebase deployYou can now open the URL that Firebase gives and log in using your email and password that you previously set up in the
Setup Teacher Categorytab.